As every trial attorney knows, there are many strategies for cross examining a witness. Among the most effective is confronting a witness with their previous deposition testimony. Nothing beats an opportunity to use their own words against them.
In order to get the most impact from this practice, a savvy litigator will read transcript passages or play audio/video excerpts from the witness’s deposition. An alternate technique—most effective when there is a lot of testimony—is showing a witness’s testimony on-screen using slides. Of course, as with any PowerPoint presentation, there are several things to consider when using this tool to cross examine a witness.
Tips for Witness Testimony Presentation
1. Format the Transcript Text
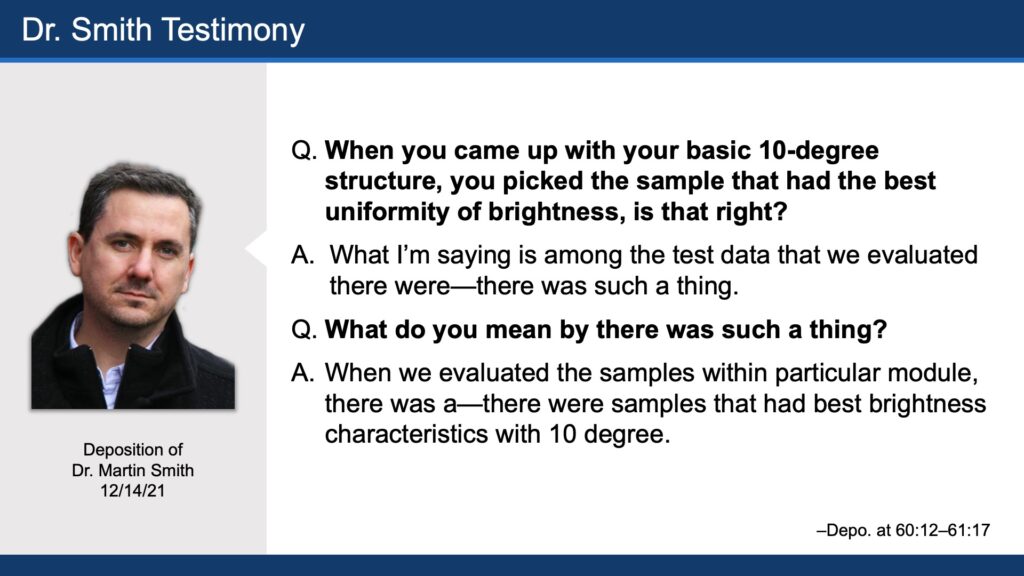
Rather than importing an image of the transcript page, consider copy/pasting or retyping the testimony into a slide. This will give you control over how large you make the text and can even allow you to emphasize certain words or statements that align with your case themes. In addition, most jurors sit 20-40 feet from the projection screen in the courtroom. A good rule of thumb is to use 20-point font type or larger.
2. Use Bold Font Type
By bolding questions within the transcript, jurors will more easily distinguish them from the witness’s answers to each question. Another tip is to stay away from unique fonts. While “French Script” might be a nice touch on a party invitation, it can be hard to read from the jury box.
3. Animate Each Question and Answer
If you are using PowerPoint or Key Note, consider adding animation to each question-and-answer text block. It’s natural for people to read ahead if there is more on the screen; by revealing each question and answer one-by-one, you will have a much better chance of holding the jurors’ attention. Effects like “appear,” “wipe,” or “fade” are all good options for this, but stay away from more flamboyant effects like “fly-in” or “zoom” since those are too distracting (and most judges will not allow that to go on for more than a few slides).
4. Use a Photo of the Witness
A photo of the witness will allow the jury to connect the testimony with the witness. If you didn’t videotape the witness, look for a picture on their company website or social media profiles. Obvious caveats apply here; you generally know what the court will allow and to what opposing counsel will object.

5. Be Flexible
Even though you have prepared all your testimony slides for the unexpected, consider having the entire transcript loaded in a trial presentation software (e.g., TrialDirector or Sanction) that allows you or your trial presentation consultant to jump to any portion of the transcript on the fly. It’s very possible that opposing counsel will argue that an answer is not complete, and the court might instruct you to continue on for several more lines of testimony.
In Conclusion
Visually displaying a witness’s deposition testimony during cross examination allows you to drive home the points most relevant to your arguments and case themes, and most salient to jurors you hope to influence. Following these five simple rules above will make that tactic even more effective in court.
View this article on The National Law Review here: How to Effectively Present Witness Testimony In Cross Examination (natlawreview.com)


